Related Videos
- Paperless Forms
How to Send Paperless Forms to Patients?
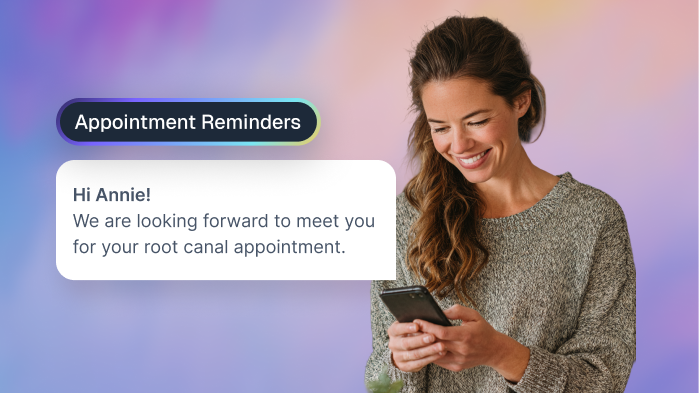
Watch - Appointment Reminders
How Dental Offices Can Use Appointment Reminder System?
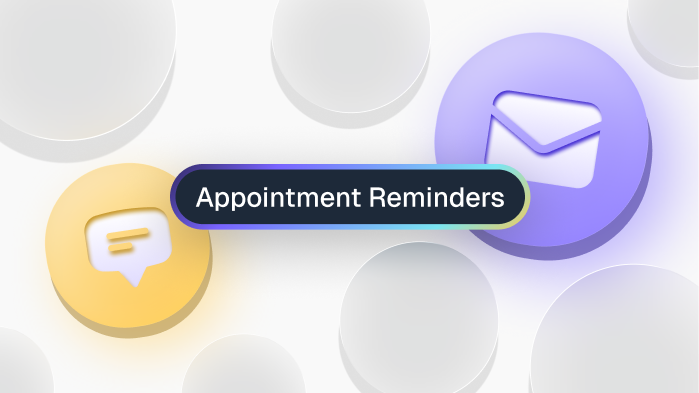
Watch - Appointment Reminders
How Can Appointment Reminders Be Customized For Patients?
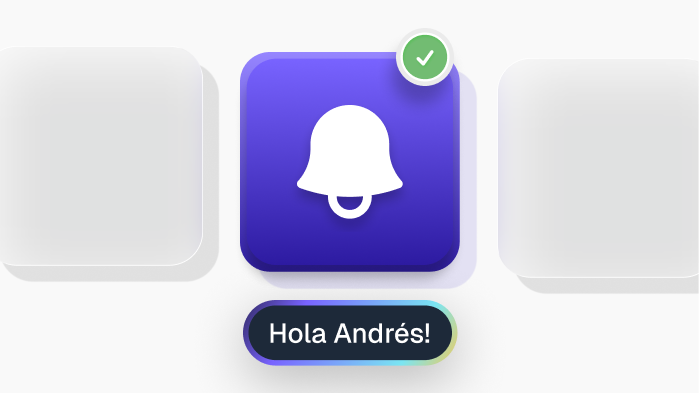
Watch - Appointment Reminders
Send Appointment Reminders in Spanish
Watch - Insurance Verification
How PracticeDilly Verify Insurance Periodically with Patients?
Watch - Two-way Texting
How Can You Send Text Messages to Patients on a Specific Date?
Watch